一、鉴权和授权(grpc专栏结束后会开启鉴权授权专栏欢迎大家关注)
- 权限认证这里使用IdentityServer4配合JWT进行认证
- 通过AddAuthentication和AddAuthorization方法进行鉴权授权注入;通过UseAuthentication和UseAuthorization启用鉴权授权
- 增加授权策略处理
- 使用密码模式,及简易内存处理
- 生成token带入grpc的metadata进行传递
- 服务端对应的方法标记特性[Authorize]进行验证
- 代码中会有对应的注释说明,如果对您有用,可静下心来细致的浏览
二、实战案例
- 需要一个授权中心服务
- 需要一个gRPC后端服务
- 需要一个客户端调用对应的授权中心和gRPC后端服务
第一步:授权中心
1)引入IdentityServer4包
2)添加IdentityServer注入及启用IdentityServer
// 添加IdentityServer4注入

// 注入id4服务 配置开发证书 配置内存客户端client
builder.Services.AddIdentityServer()
                .AddDeveloperSigningCredential()
                .AddInMemoryClients(PasswordInfoConfig.GetClients())
                .AddInMemoryApiResources(PasswordInfoConfig.GetApiResources())
                .AddInMemoryApiScopes(PasswordInfoConfig.GetApiScopes())
                .AddTestUsers(PasswordInfoConfig.GetUsers());


// 启用IdentityServer 同时启用认证和授权

app.UseIdentityServer();
app.UseAuthentication();

app.UseAuthorization();
3)密码 在程序中进行了初始化;因为是模拟,这里就没有放到数据库
    public class PasswordInfoConfig
    {

        /// <summary>
        /// 获取设定客户端
        /// </summary>
        /// <returns></returns>
        public static IEnumerable<Client> GetClients()
        {
            return new[] {
                new Client{
                    ClientId="laoliu",
                    ClientSecrets= new []{ new Secret("laoliu123456".Sha256()) },
                    AllowedGrantTypes = GrantTypes.ResourceOwnerPassword,
                    AllowedScopes = new[] {"TestApi","UserApi"},
                    Claims = new List<ClientClaim>(){
                        new ClientClaim(JwtClaimTypes.Role,"Admin"),
                        new ClientClaim(JwtClaimTypes.NickName,"王先生"),
                        new ClientClaim(JwtClaimTypes.Email,"88@163.com")
                    }
                }
            };

        }

        /// <summary>
        /// 获取Api对应的作用域
        /// </summary>
        /// <returns></returns>
        public static IEnumerable<ApiScope> GetApiScopes()
        {
            return new[] { new ApiScope("UserApi", "用户作用域"), new ApiScope("TestApi", "测试作用域") };
        }

        /// <summary>
        /// 获取Api资源
        /// </summary>
        /// <returns></returns>
        public static IEnumerable<ApiResource> GetApiResources()
        {
            return new[]
            {
                new ApiResource("TestApi","测试的API",new List<string>{ IdentityModel.JwtClaimTypes.Role,"email"})
                {
                    Scopes = new List<string> { "TestApi" }
                },
                new ApiResource("UserApi","用户的API",new List<string>{ JwtClaimTypes.NickName,"email"})
                {
                    Scopes= new List<string> { "UserApi" }
                }
            };
        }


        public static List<TestUser> GetUsers()
        {
            return new List<TestUser>
            {
                new TestUser()
                {
                    Username="admin",
                    Password="password",
                    SubjectId="0",
                    Claims= new List<Claim>(){
                        new Claim(JwtClaimTypes.Role,"Admin"),
                        new Claim(JwtClaimTypes.NickName,"陈先生"),
                        new Claim(JwtClaimTypes.Email,"77.com")
                    }
                }
            };
        }
    }
第二步:gRPC后端服务
1)引入IdentityServer4、IdentityServer4.AccessTokenValidation、Microsoft.AspNetCore.Authentication.JwtBearer包
2)添加IdentityServer权限解析认证
3)启用鉴权和授权
4)对应的类或方法中标记 [Authorize]
4)GRPC的服务及Proto文件这里不贴上来了 有需要可以直接百度云盘下载源码查看
// 注入
builder.Services.AddAuthentication(JwtBearerDefaults.AuthenticationScheme)
                .AddIdentityServerAuthentication(options =>
                {
                    // 权限中心 服务地址
                    options.Authority = "http://localhost:5172";
                    options.ApiName = "TestApi";
                    options.RequireHttpsMetadata = false;
                });

builder.Services.AddAuthorization();
builder.Services.AddGrpc();

// 启用

app.UseAuthentication();
app.UseAuthorization();

// 字段
app.MapGrpcService<ProtoFieldService>();
// 基础配置
[Authorize]
public override async Task<Empty> BaseConfigService(BaseConfig request, ServerCallContext context)
{
    await Console.Out.WriteLineAsync("\r\n--------------------------基础配置--------------------------\r\n");
    // 打印字段信息
    var properties = request.GetType().GetProperties();
    foreach (var property in properties)
    {
        var value = property.GetValue(request);

        await Console.Out.WriteLineAsync($"{property.Name}:{value}");
    }
    return new Empty();
}
第三步:WPF客户端
1)调用鉴权中心获取token
2)gRPC工厂中配置token传递 或者在调用对应的客户端函数中对metadata传参
3)调用
    public class WpfAuthClient
    {
        private static string _token = null;

        public static async Task<string> GetToken()
        {
            if (_token != null)
            {
                return _token;
            }
            var client = new HttpClient();
            PasswordTokenRequest tokenRequest = new PasswordTokenRequest();
            tokenRequest.Address = "http://localhost:5172/connect/token";
            tokenRequest.GrantType = GrantType.ResourceOwnerPassword;
            tokenRequest.ClientId = "laoliu";
            tokenRequest.ClientSecret = "laoliu123456";
            tokenRequest.Scope = "TestApi";
            tokenRequest.UserName = "admin";
            tokenRequest.Password = "password";


            var tokenResponse = await client.RequestPasswordTokenAsync(tokenRequest);

            var token = tokenResponse.AccessToken;
            var tokenType = tokenResponse.TokenType;

            _token = $"{tokenType} {token}";

            return _token;
        }
    }
public static class GrpcClient
{
/// <summary>
/// rpc 工厂注入
/// </summary>
/// <param name="services"></param>
/// <returns></returns>
public static IServiceCollection AddWPFGrpc(this IServiceCollection services)
{
if (services == null)
{
throw new ArgumentNullException(nameof(services));
}
services.AddGrpcClient<FieldRpc.FieldRpcClient>(options =>
{
options.Address = new Uri("https://localhost:7188");
}).AddCallCredentials(async (context, metadata) =>
{
var token = await WpfAuthClient.GetToken();
metadata.Add("Authorization", token);
});
return services;
}
}三、执行效果展示
1)启动鉴权中心

2) 启动gRPC后端服务
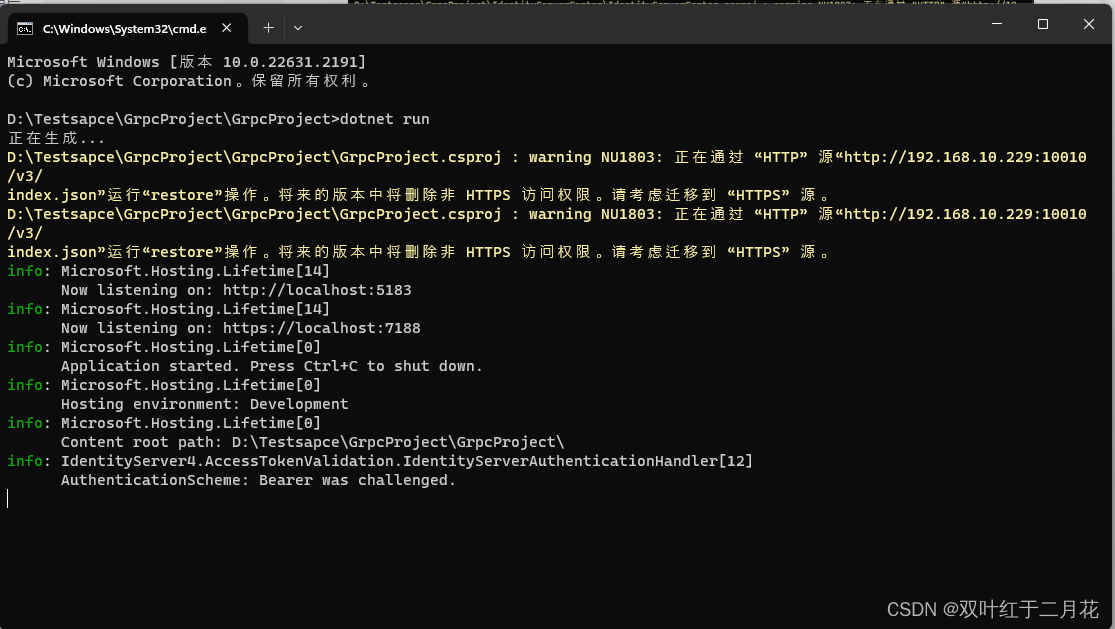
3)先看下不传token的结果

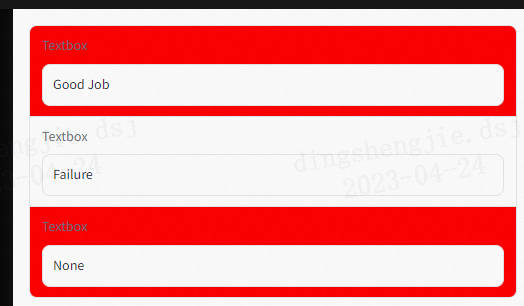
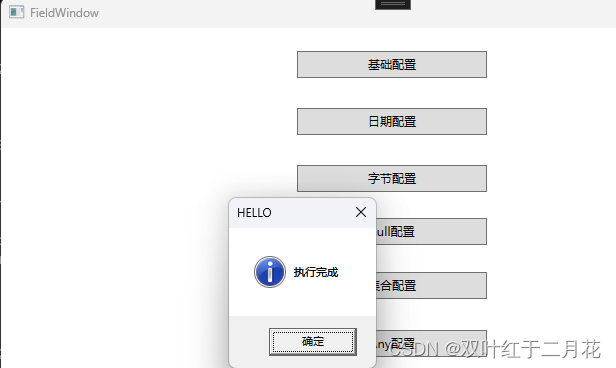
4)加入token获取传递展示
授权中心返回

gRPC服务展示

客户端返回成功
四、源码地址
链接:https://pan.baidu.com/s/1viu-REcR-ySdR0FE05sohg
提取码:y0m4